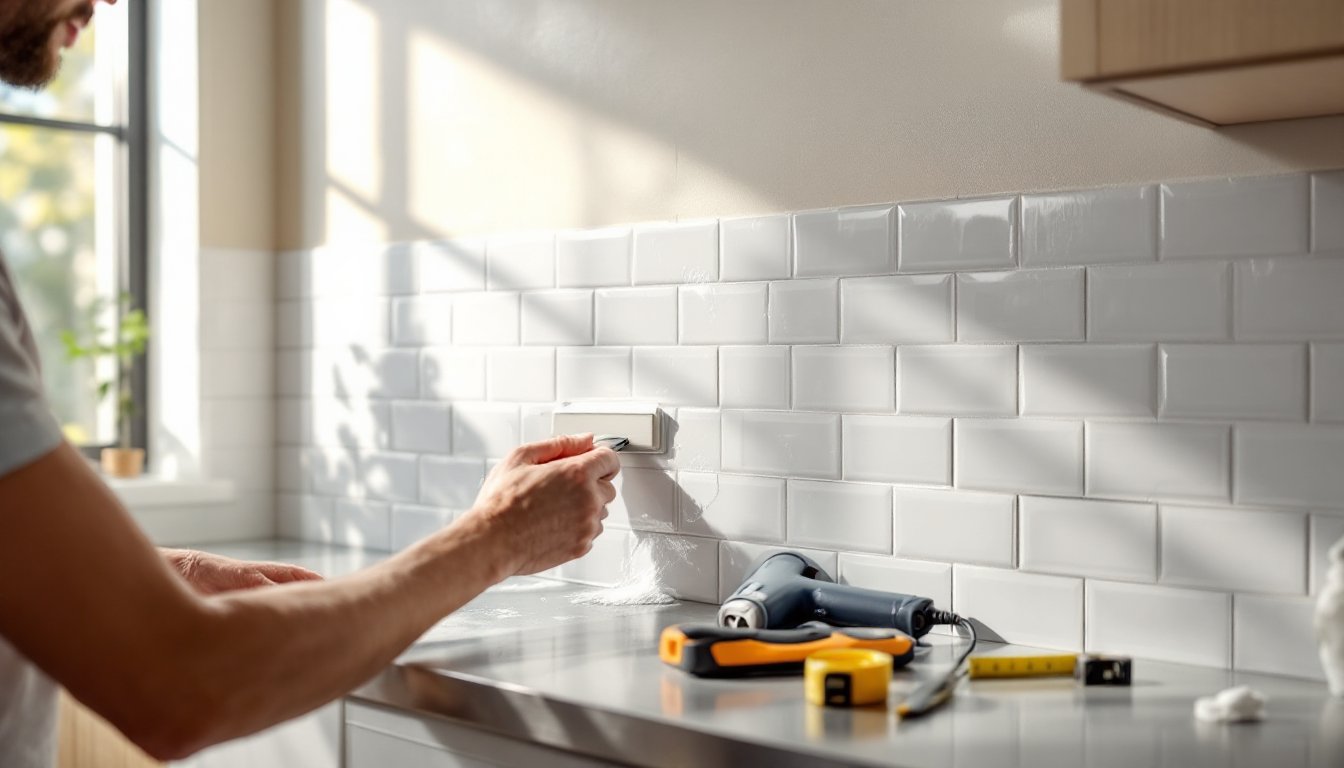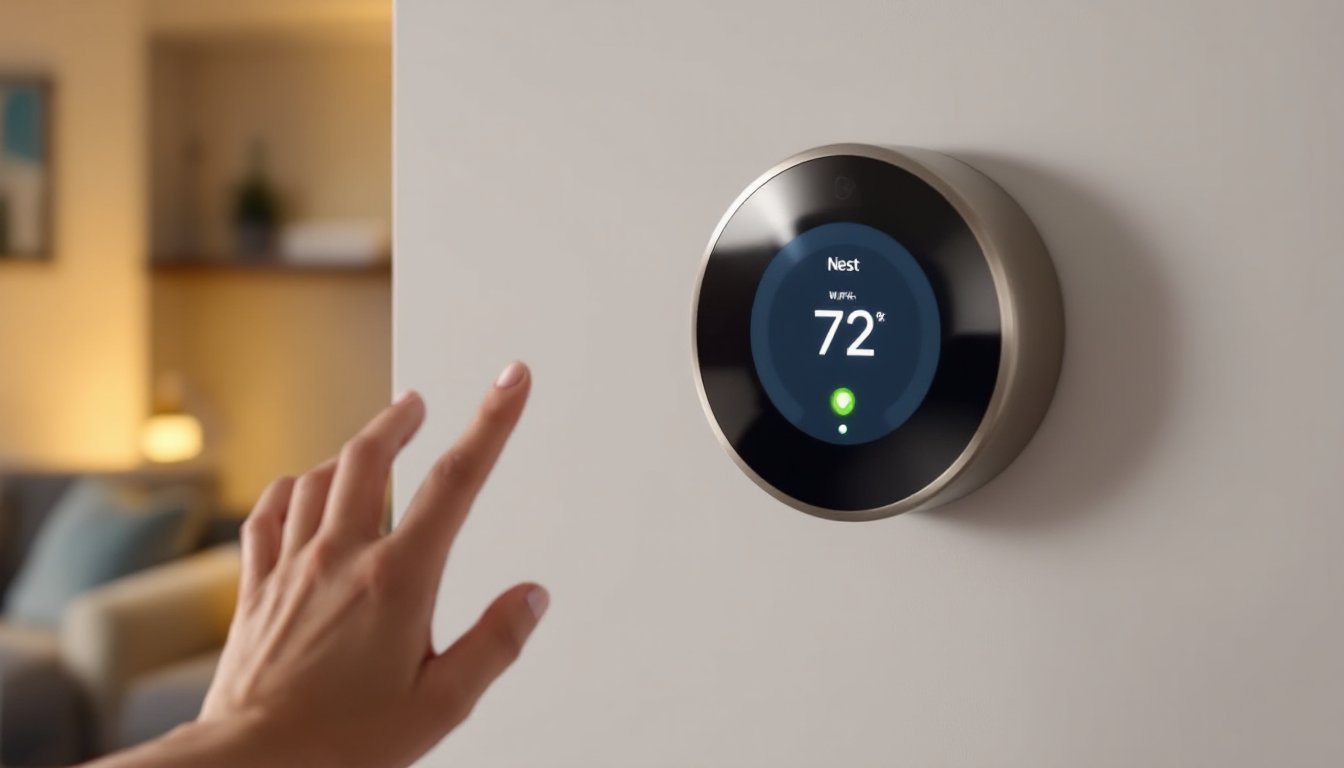
Getting your Nest thermostat online is one of the easiest smart home upgrades you can tackle yourself, no electrician needed. The whole process typically takes just a few minutes if you’ve got your WiFi password handy and your thermostat powered up. This guide walks you through each step, covers what you’ll need beforehand, and includes troubleshooting tips for the hiccups that do occasionally pop up. Whether you’re installing a brand-new Nest or reconnecting after a WiFi outage, you’ll have remote control over your home’s temperature in no time.
Table of Contents
ToggleKey Takeaways
- Connecting a Nest thermostat to WiFi takes just a few minutes and requires only your WiFi password and a powered-on device—no electrician or technical expertise needed.
- Confirm your Nest thermostat model is compatible and position it within reasonable range of your router; use a WiFi extender if the signal is weak across distance or walls.
- WiFi passwords are case-sensitive, so enter each character carefully when selecting your network; using the 2.4 GHz band provides more reliable connections than 5 GHz, especially at distance.
- If your Nest thermostat connection fails, double-check your password accuracy, verify your router’s SSID and network settings, and avoid guest networks unless they support local device communication.
- Once successfully connected to WiFi, download the Google Home app to enable remote temperature control, scheduling, and notifications from your smartphone.
Before You Begin: What You Need to Know
Compatibility and Requirements
Before diving in, confirm you’ve got a compatible Nest thermostat model. Google’s Nest line includes the Nest Learning Thermostat (3rd and 4th gen), Nest Thermostat E, and the newer Nest Thermostat (budget-friendly version). All of these can connect to WiFi, but the basic Nest Thermostat has fewer remote features than the Learning version.
You’ll need a WiFi network that runs on either the 2.4 GHz or 5 GHz band, most modern routers broadcast both. Your thermostat’s location matters too: ideally, it should be within reasonable range of your WiFi router, though walls and distance will weaken the signal. If your thermostat sits in a basement or three rooms away from your router, you might need a WiFi extender to lock in a stable connection.
Gather these items before starting:
- Your WiFi network name (SSID)
- Your WiFi password
- The thermostat’s power already turned on
- Optionally, a smartphone or tablet for the Google Home app (useful but not required during initial setup)
Make sure no one’s in the middle of adjusting the thermostat temperature during setup, it won’t cause damage, but it can interrupt the process. Clear about five minutes where the display won’t be touched. According to step-by-step instructions for Nest Thermostat setup, having everything ready beforehand is the single biggest factor in a smooth connection.
Step 1: Power Your Nest Thermostat
Your Nest needs power to communicate with WiFi, so double-check that it’s turned on before you start the WiFi pairing process. If you just installed the thermostat for the first time, your HVAC system powers it, there’s no separate plug-in. If your old thermostat wasn’t connected to power properly, the Nest won’t boot up either, so inspect your wiring.
Look at the Nest’s display: you should see the Google logo, a loading animation, or the main menu. If the screen is completely dark, hold your finger on the thermostat ring for three seconds to wake it up. A blank screen that won’t respond after a few seconds suggests a wiring issue, and you’ll want to check that the C-wire (common wire) or the power adapter is connected if you’re using one.
Once the display lights up and shows the home screen or setup menu, you’re ready to move to WiFi pairing. This is the moment when patience pays off, let the thermostat fully boot before proceeding. If it keeps cycling between startup screens, give it another 10-15 seconds.
Step 2: Access the WiFi Setup Menu
From the main thermostat screen, you’ll need to navigate to the WiFi settings. On the Nest Learning Thermostat and Nest E, swipe up or down on the ring to move through the menu until you find Settings. On the newer Nest Thermostat (the basic model), you may see a WiFi option more directly on the home screen, tap it.
Once you’re in Settings, look for WiFi or Network. The exact wording depends on your model, but it’s always clearly labeled. Tap it to enter WiFi setup mode. At this point, the thermostat display will show a list of available networks, this is your cue that WiFi discovery is active. The list updates in real-time, so if you don’t see your network right away, wait five seconds and scroll through the list again.
If the WiFi menu appears frozen or unresponsive after 20 seconds, back out (by pressing the back button or swiping down), wait 10 seconds, and try again. A quick restart of the menu often clears temporary glitches. Once you see your network name in the list, you’re ready for the next step.
Step 3: Select Your Network and Enter Your Password
Tap your network name from the list that appears on the Nest display. The thermostat will now prompt you to enter your WiFi password. Here’s where accuracy matters: WiFi passwords are case-sensitive, so password is different from Password or PASSWORD.
Use the thermostat ring to scroll through letters, numbers, and special characters. It’s slower than typing on a phone, but it works. If your password is long or complex, take your time and double-check each character as you enter it. A common mistake is accidentally hitting caps lock or mistyping a number, one wrong digit and the connection will fail.
Once you’ve entered the full password, select Done or Connect. The thermostat will attempt to join your network. During this process, the display may show a loading animation for 10-30 seconds. This is normal, the thermostat is authenticating with your router and establishing the connection. According to guides on WiFi connection steps, patience during this phase prevents false troubleshooting later.
When connection succeeds, you’ll see a confirmation message or the thermostat will return to the main menu. If the screen shows an error or drops back to the network list, your password likely had a typo. Go back, re-enter it carefully, and try again.
Troubleshooting Common Connection Issues
WiFi Password Errors and Weak Signal
If your Nest keeps rejecting your password, reset it and try a second time. Open your router’s admin panel (usually accessible from a computer or phone connected to the network) and confirm the exact SSID and password your network is broadcasting. Some routers hide the SSID, if that’s your case, look for a setting to make it visible temporarily, or manually type the network name instead of selecting it from the list.
Weak signal is another common culprit. If your thermostat is far from the router, the connection may drop during setup or immediately after. Move the router closer temporarily, or place a WiFi extender in a central location to boost signal strength. Once your Nest is connected, you can move the extender back if needed, the thermostat will hold the connection.
If you’ve got a dual-band router (2.4 GHz and 5 GHz), try connecting to the 2.4 GHz band explicitly. Nest thermostats connect more reliably on 2.4 GHz, especially at distance. Most routers let you broadcast a separate SSID for each band, check your router’s settings. Never use a guest network for your Nest unless you’ve confirmed it supports local device communication: some guest networks isolate devices from each other, which blocks thermostat functions.
After a successful connection, the Nest display will confirm it’s online. From here, you can download the Google Home app on your phone to control temperature remotely, set schedules, or receive notifications. Detailed WiFi connection tutorials cover these next steps thoroughly. If the thermostat stays offline even though multiple attempts, a factory reset may be necessary, hold the display ring for 10 seconds until you see a reset prompt, then follow the on-screen steps to restart setup from scratch.