Disconnecting a dishwasher might seem intimidating if you’ve never done it before, but it’s one of the most straightforward appliance removals a homeowner can tackle. Whether you’re replacing an old unit, moving to a new home, or making space for a kitchen remodel, learning how to disconnect a dishwasher safely is essential. The process takes a few hours, requires basic tools, and follows a logical sequence: shutting off utilities, disconnecting water and electrical lines, and unbolting the unit. This guide walks you through each step so you can avoid costly mistakes and keep yourself safe throughout the project.
Table of Contents
ToggleKey Takeaways
- Disconnecting a dishwasher is a manageable DIY project that requires basic tools, safety precautions, and a logical sequence of shutting off utilities, disconnecting water and electrical lines, and unbolting the unit.
- Always turn off the main water supply and circuit breaker before touching the dishwasher, then verify both are actually shut down using a faucet test and non-contact voltage tester to prevent serious injury.
- Disconnect the water inlet hose using an adjustable wrench, remove the drain line carefully, and position a bucket underneath to catch spillage and residual water.
- For hardwired dishwashers, photograph the electrical connections before untwisting wire nuts; for plug-in units, simply unplug after confirming power is off.
- Remove the bolts securing the dishwasher to the countertop, carefully slide it out with help (the unit weighs 90–110 pounds), and thoroughly clean the exposed space before installing a replacement or capping the lines.
- Wear nitrile gloves and consider a dust mask when working under the appliance, and don’t hesitate to call a licensed electrician or plumber if any step feels unsafe or unfamiliar.
Gather Your Tools And Turn Off Utilities
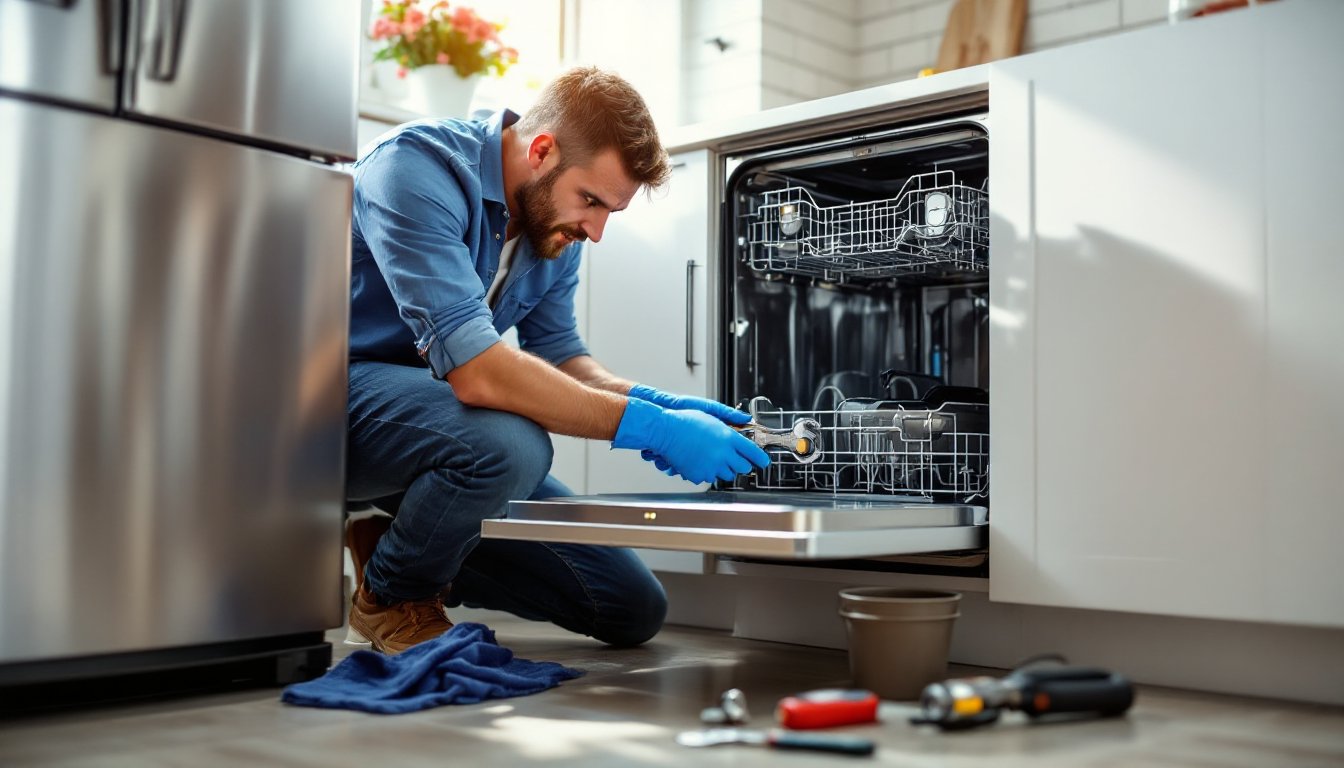
Before you touch anything, assemble the right tools and materials. You’ll need an adjustable wrench (to fit various connection sizes), a flashlight (the space under the sink is usually dim), pliers, a bucket or shallow pan (water will drip), towels, and possibly a flat-head screwdriver. A wet-dry vacuum also helps manage any spillage.
Turn off the home’s main water supply. Locate your water shutoff valve, typically found in the basement, crawl space, or near your water meter. Turn it clockwise until it stops. Next, switch off the circuit breaker that feeds the dishwasher. Most dishwashers run on a standard 120V circuit, and it should be labeled on your breaker panel. If you’re unsure, use a non-contact voltage tester to confirm the circuit is dead before proceeding. Safety first: never assume a breaker is off without checking.
Shutting Down The Water And Power Supply
Once utilities are off, verify they’re actually shut down. Turn on a faucet in the kitchen, if water runs normally from the main line, your shutoff worked: if it doesn’t, the shutoff valve is the problem and you’ll need to locate an alternate source or call a plumber. For electrical, use a voltage tester on the dishwasher’s outlet or the outlet box to confirm power is off. This step takes 30 seconds and prevents serious injury.
If the dishwasher has a dedicated shutoff valve (many do, located beneath or behind the unit), turn it clockwise as well. Some older homes lack this valve: if that’s your case, the main shutoff is your safety net. Don’t skip this, a pressurized water line can cause flooding and water damage in seconds.
Disconnect The Water Supply Lines
Position your bucket or pan under the connection point where the water inlet hose attaches to the dishwasher’s fill valve. Using an adjustable wrench, turn the compression fitting counterclockwise. The fitting is usually 3/4 inch or 1/2 inch in diameter. Expect a small amount of water to spill: that’s why you have the bucket ready.
Once the inlet hose is loose, pull it away and set it aside. Check if your dishwasher has a drain line running to the sink strainer or garbage disposal. If it does, loosen the hose clamp with pliers or a screwdriver (depending on the clamp type), then slide the hose off the drain port. Again, place a towel underneath, trapped water in the drain line will pour out. The drain hose is typically corrugated plastic, so be gentle and don’t kink it if you plan to reuse it. If you’re replacing the unit, these hoses usually come with a new dishwasher, so you can discard them.
Remove The Electrical Connection
Open the access panel under the dishwasher (usually a removable toe-kick panel or the door itself, depending on the model). You’ll see the power cord entering a terminal box or plug connection. If the dishwasher is hardwired (no plug), you’ll see wire connections, typically black, white, and bare copper (ground) wires held in place by wire nuts or a disconnect terminal block.
If the unit is hardwired, take a photo of the wiring for reference, then carefully untwist the wire nuts and separate the wires. Store the wires and cover them with electrical tape to prevent accidental contact. If the dishwasher has a plug, simply unplug it from the outlet. Many modern dishwashers use a 3-wire plug (two hot, one ground) or a standard grounded plug. Wear rubber gloves during this step as a precaution, even though you’ve already killed the breaker.
Unbolt And Pull Out The Dishwasher
Most dishwashers are held in place by two or three bolts along the top rim, where the unit tucks under the countertop. Open the door fully and look up at the cabinet frame. You’ll usually see hex bolts, typically 3/8 inch or 1/2 inch. Use your adjustable wrench or socket wrench to loosen and remove them. Keep bolts in a small bag so you don’t lose them.
Some units also have shims (wooden wedges) underneath or behind them for leveling. Note their position or take a photo. With the bolts removed, carefully slide the dishwasher straight out. It’s heavy, typically 90 to 110 pounds, so get a helper if you’re not confident lifting. Tip it back slightly as you pull: this prevents the front lip from catching on the counter edge. Once fully clear, set it on a dolly or sturdy surface. Be careful with the floor: the bottom can leak residual water onto hardwood or vinyl.
Final Steps And Safety Considerations
After removal, inspect the space where the dishwasher sat. You’ll likely find crumbs, food debris, and grease buildup. Vacuum thoroughly and wipe the area with a damp cloth. Check the cabinet interior for damage, mold, or structural issues that warrant repair before installing a new unit.
If you’re replacing the dishwasher, the installation process mirrors this in reverse. Installing a new dishwasher requires connecting water, drain, and electrical in the correct sequence, something to keep in mind when ordering your replacement. If you’re leaving the space empty, cap the water line with a compression fitting and turn the shutoff valve back on. Cap the drain line as well to prevent odors and pests. For hardwired units, you’ll want an electrician to properly cap or remove the junction box.
Wear nitrile gloves throughout the process to protect against bacteria and grease buildup in old appliances. If you encounter mold or odors under the unit, ventilate the space and consider wearing a dust mask. The dishwasher’s underside collects condensation and debris over years, so treat it as a biohazard area. Never work alone if the unit is difficult to move, an extra pair of hands prevents drops, strains, and injuries.
Conclusion
Disconnecting a dishwasher is a manageable DIY project that saves money on service calls and teaches valuable appliance maintenance skills. The key is patience: turn off utilities first, verify they’re off, disconnect water and electrical carefully, and don’t rush the removal. If anything feels unsafe or unfamiliar, especially electrical work, bring in a licensed professional. Your safety is worth more than the cost of labor.