A kitchen island with a built-in table is one of the smartest moves a homeowner can make in a space-constrained kitchen. Instead of carving out separate zones for cooking and dining, you’re blending both functions into a single, hardworking piece. Whether you’re renovating a galley kitchen or just tired of the cramped breakfast nook, a kitchen island with table combines prep work, storage, and casual seating in a way that transforms how your family uses the space. It’s practical, it adds real value, and if you’re handy with basic woodworking and carpentry, it’s absolutely achievable as a DIY project.
Table of Contents
ToggleKey Takeaways
- A kitchen island with table combines cooking prep, casual dining, and storage in one footprint, making it an ideal solution for space-constrained kitchens and open-plan homes.
- A well-designed kitchen island with table enhances kitchen aesthetics and boosts home value, making it one of the most cost-effective kitchen improvements and a strong selling point for potential buyers.
- Building a kitchen island with table is an achievable DIY project for intermediate carpenters using basic tools like a circular saw, miter saw, and drill, with proper planning and accurate measurements being essential.
- Material durability matters significantly: durable countertops like quartz and stain-resistant finishes protect the island from kitchen wear, while 3/4-inch plywood and solid wood construction ensure structural integrity for long-term use.
- Strategic layout and height coordination—maintaining 36–48 inches of clearance around the island and aligning countertop heights with existing counters—ensure safe movement and functional workspace in your kitchen.
- Most freestanding kitchen islands don’t require permits, but adding electrical outlets, plumbing, or appliances necessitates hiring licensed professionals and obtaining local permits for code compliance.
What Is a Kitchen Island with Table?
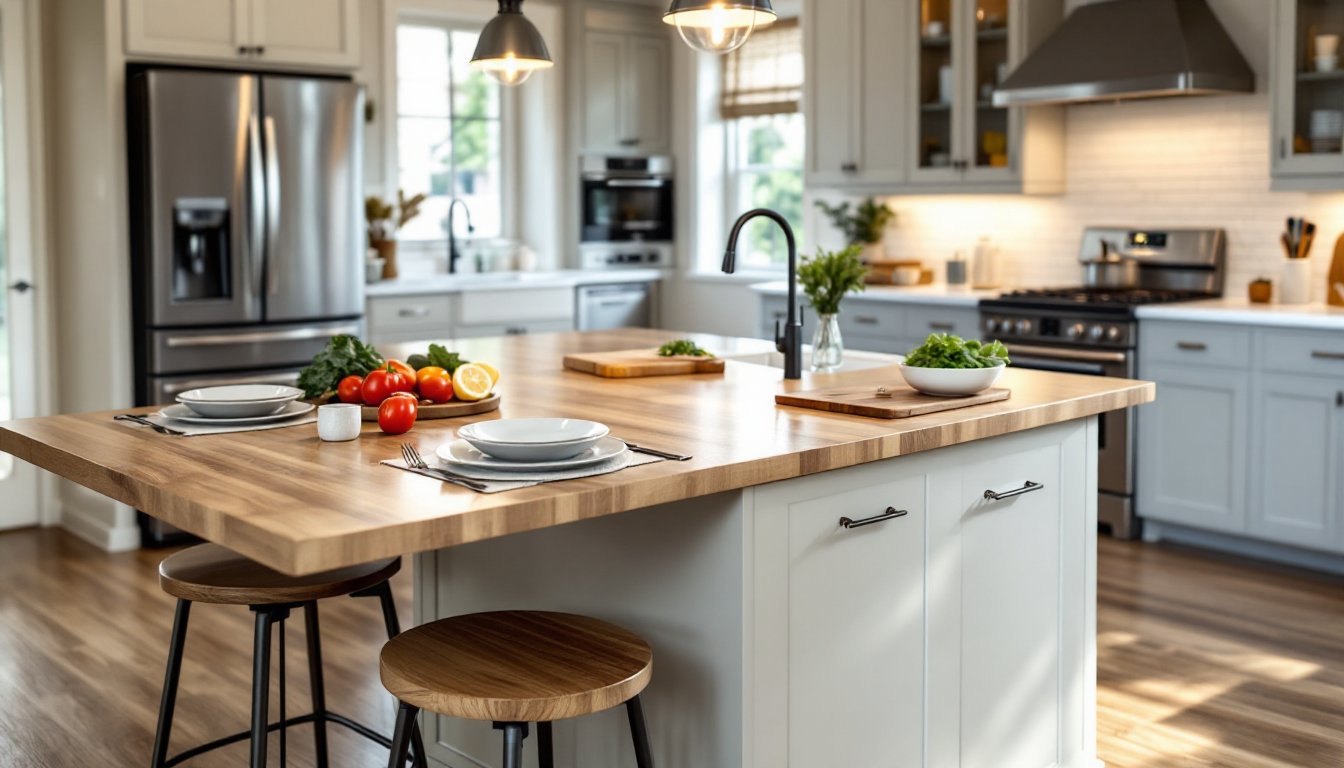
A kitchen island with table is a freestanding or semi-built-in cabinet unit that combines counter space for food prep with an integrated dining surface, usually on one or more sides. Think of it as two furniture pieces merged into one. The top half functions as your standard island countertop, perfect for chopping vegetables, mixing batter, or just setting down groceries. The lower or side surface serves as a table for eating, assignments, or casual assembly work.
This hybrid approach saves floor space because you’re not building a separate eat-in area elsewhere in the kitchen. A typical kitchen island with table ranges from about 4 feet to 8 feet long and 2 to 3 feet deep, though dimensions flex based on your room and needs. Some designs keep the table at standard dining height (around 30 inches), while others use bar-height seating (36 inches) for a sleeker look. The configuration, whether the table faces out to the room or tucks under an overhang, depends on your layout and how you want to use the space.
Key Benefits for Homeowners and DIY Enthusiasts
A kitchen island with table solves multiple pain points at once, which is why it’s become so popular in modern home renovations. Beyond the obvious space savings, there are real, everyday advantages that make this investment worth the effort.
Maximizing Space and Functionality
In smaller homes or open-plan kitchens, dedicated dining room space isn’t always an option. A kitchen island with table eliminates that need. You get cooking prep, casual dining, and often hidden storage in one footprint. Families can supervise assignments or chat over coffee while meals are being prepared, no more isolated cooking. Storage is another huge win: most islands include cabinets or shelving underneath for cookbooks, small appliances, or pantry overflow. If your kitchen is under 150 square feet, this dual-purpose piece is often the difference between a functional space and a cramped one.
Enhancing Kitchen Aesthetics and Home Value
Beyond function, a well-designed kitchen island with table anchors the room visually. It breaks up long, blank stretches of cabinetry and creates a focal point that draws the eye. Potential buyers during resale appreciate the thoughtfulness and added utility: kitchens and dining areas are the top two rooms that influence home value. A custom or semi-custom island that matches your cabinetry style signals quality and planning. Even a modest DIY build that uses solid materials and a coherent finish boosts perceived value significantly. According to kitchen design ideas and renovations, updated kitchen functionality is one of the most cost-effective home improvements.
Design Styles and Layout Considerations
Before you cut a single board, nail down your design direction. The style should complement your existing cabinetry, flooring, and wall finishes, not fight them.
Farmhouse and rustic islands feature open shelving, recessed panel doors, and often stained wood finishes in warm tones. These pair well with vintage hardware and work especially well in colonial or cottage-style homes. Contemporary islands lean toward clean lines, minimal ornamentation, and neutral colors (white, gray, black). They often pair with slab-style cabinet doors and stainless-steel hardware. Transitional designs blend both worlds: simple shapes with subtle details, neutral to warm finishes, and flexibility in hardware choice.
Layout matters just as much as style. Measure your kitchen carefully. You need at least 36 to 48 inches of clearance on all sides of your island for safe movement and appliance door swing. If the island sits in the center of your kitchen, it can’t block the path between your refrigerator, stove, and sink, the classic work triangle. If space is tight, position the table end toward the room rather than perpendicular to walls, creating an outward-facing eating area. Some DIYers opt for a rolling island with casters on the base, which adds flexibility if you ever need to rearrange. Just ensure the casters lock securely: you don’t want your island sliding during food prep.
Height coordination matters too. Your island countertop should typically match your perimeter counters (usually 36 inches from floor). The table surface can be the same height, creating one continuous work zone, or slightly lower if you want visual distinction. Bar-style overhang seating sits at 36 to 42 inches, which works well if the table is an afterthought: traditional dining seating needs 30-inch height for comfortable leg room.
Materials and Finishes for Durability
Your material choice determines how well the island holds up to kitchen wear and tear, heat, moisture, spills, and daily impact.
Countertops for the prep surface should be durable and water-resistant. Butcher block (solid hardwood like maple or oak) is a popular DIY choice because it’s warm and works with any aesthetic, but it requires sealing and maintenance to prevent staining. Quartz is more forgiving and nearly indestructible: laminate is budget-friendly and easy to replace if damaged. The table surface can match the counter or differ slightly, many builders use a sturdy, food-safe finish like polyurethane-sealed wood or a stain-resistant laminate.
Cabinet bases are typically built from plywood or solid pine framing. Plywood is more stable across humidity changes and costs less: you face it with your chosen veneer (oak, maple, birch) or paint. If you’re building the island yourself, use 3/4-inch plywood for the cabinet box and frame out with 2×4 or 2×6 lumber studs (note: a 2×4 is actually 1.5 inches thick and 3.5 inches wide, nominal vs. actual sizing). This keeps the structure rigid and able to support the weight of countertops and seated diners.
Finishes should be food-safe and moisture-resistant. Paint is a common choice for a farmhouse or contemporary look: use a kitchen-grade enamel or cabinet paint that can handle humidity. Stain works beautifully on natural wood if you seal it properly, three coats of polyurethane or a two-part epoxy gives the best protection against spills. Avoid oil-based finishes in kitchens: they yellow over time and catch dust. Island builds from free farmhouse-style plans often showcase painted or stained finishes paired with practical countertop materials.
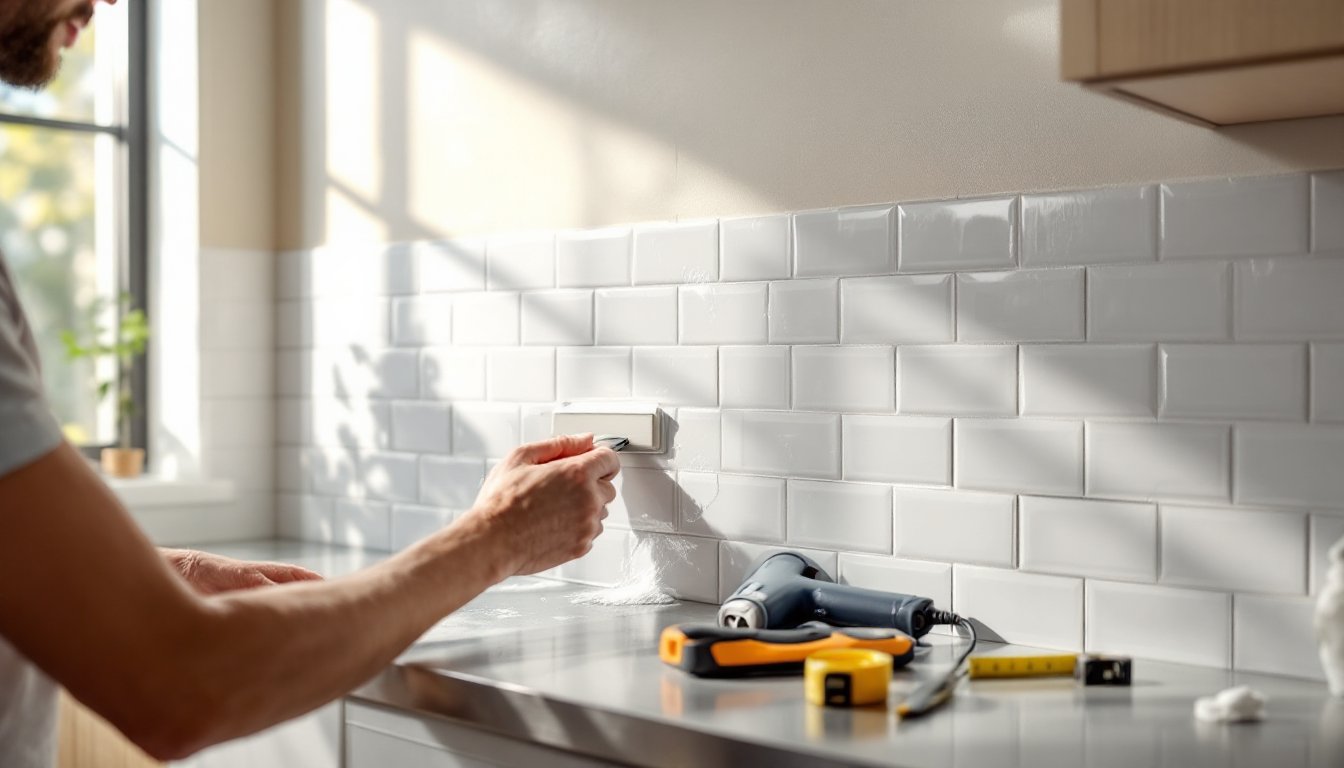
Installation and DIY Tips
Building a kitchen island with table is achievable for someone with intermediate carpentry skills and basic tool knowledge. You don’t need a full shop: a circular saw, miter saw, drill, and level will cover most of the work.
Prep and planning come first. Create a detailed sketch or use a free design tool to nail down dimensions and material lists. Measure your kitchen floor multiple times: mistakes here are expensive. Check floor levelness with a 4-foot level: most kitchen floors have minor slopes, and your island should sit level regardless. If the floor is out by more than 1/4 inch over 10 feet, you may need shim the base during installation.
Build the base cabinet using 3/4-inch plywood or solid lumber. Create a rectangular frame with 2×4 studs at the corners and along the perimeter. Include interior studs or a center rail for support, especially if your island is longer than 5 feet. Secure everything with pocket holes (using a Kreg jig) or traditional screws and wood glue, pocket holes leave a cleaner appearance and are easier for DIY work. Face the sides with veneer or your chosen finish material.
Attach the countertop only after the base is fully assembled, level, and in its final position. Use figure-8 fasteners or quality construction adhesive: avoid permanent fastening because seasonal wood movement needs room to flex. The overhang for seating (the table part) should extend 10 to 15 inches beyond the cabinet edge to allow knee room underneath.
Safety and permits: Most kitchen islands don’t require a building permit because they’re freestanding and not wired or plumbed. But, if you’re tying the island into your electrical system (adding outlets, a light fixture, or a range hood vent), you’ll need a licensed electrician and likely a permit. Same goes if you’re installing a prep sink or dishwasher: those demand plumbing and electrical work. Check with your local code office before starting. Always wear safety glasses, gloves, and a dust mask when cutting wood or sanding. Use hearing protection if operating a miter saw or circular saw for extended periods.
Finishing touches make the difference between a built-in-looking island and an amateur one. Fill all screw holes with matching wood filler, sand smooth, and apply your finish in thin, even coats. Install hardware last, drawer pulls, cabinet knobs, and any decorative elements. Quality hardware doesn’t have to be expensive, but cheap handles that wobble after a few months undermine the whole project. Examples of well-designed island builds with integrated tables are showcased in curated kitchen island designs, which demonstrate how finish quality elevates the final look.
If the project feels beyond your current skills, particularly the countertop installation or finishing work, don’t hesitate to hire out. The cabinet build is the ideal DIY section: finishing and hardware installation can make or break the result.